
Let’s be honest everyone loves the idea of free crypto, but after trying a few airdrops, most beginners start asking the same question:
Why do some people get huge airdrops while I get nothing?
I asked myself the same thing when I started. I followed guides, did random tasks, connected my wallet everywhere, and still missed some of the biggest airdrops. Then I realized something important that airdrop rewards don’t go to random users, they go to active users.
Projects track what you do, how often you do it, and how early you show up. Once you understand that, qualifying for airdrops becomes much easier.
In this guide, I’ll show you exactly how to qualify for crypto airdrops step-by-step, even if you’re a complete beginner.

What Does “Qualify for Airdrop” Mean?
Before we go deep, let’s clear this up.
To qualify for an airdrop means the project decides your wallet deserves free tokens.
They don’t pick randomly.
They check things like:
- Did you use the project early?
- Did you interact often?
- Did you use multiple features?
- Did you stay active for months?
- Did you help test the network?
If yes → you may get tokens
If no → nothing
If no → nothing
Simple, but many beginners don’t realize this.
Why Crypto Projects Give Airdrops
At first, airdrops look like free money.
But projects give them for a reason.
They want:
- Users
- Activity
- Feedback
- Community
- Attention
Airdrops are marketing + rewards combined.
Instead of paying for ads, projects reward early users.
And honestly, it works very well.
Step 1 — Use a Clean Wallet for Airdrops
This is the first rule I learned the hard way.
Always use a separate wallet.
Why?
Because projects may track:
- Wallet age
- Transaction history
- Activity type
- DeFi usage
Best practice:
- Create new MetaMask
- Use only for airdrops
- Keep small funds
- Never share seed
Recommended wallets:
- MetaMask
- Rabby
- OKX Wallet
- Phantom
Your wallet is your identity in Web3.
Treat it carefully.
Step 2 — Start Early (Most Important Rule)
The biggest mistake beginners make:
They join late.
When everyone talks about an airdrop, it’s usually already too late.
Big airdrops reward:
- Early users
- Testnet users
- Beta users
- Active users before token launch
Examples:
- Arbitrum rewarded early bridge users
- Optimism rewarded early users
- Blur rewarded early traders
- Starknet rewarded early testers
So if you see a new project, don’t wait.
Try it early.
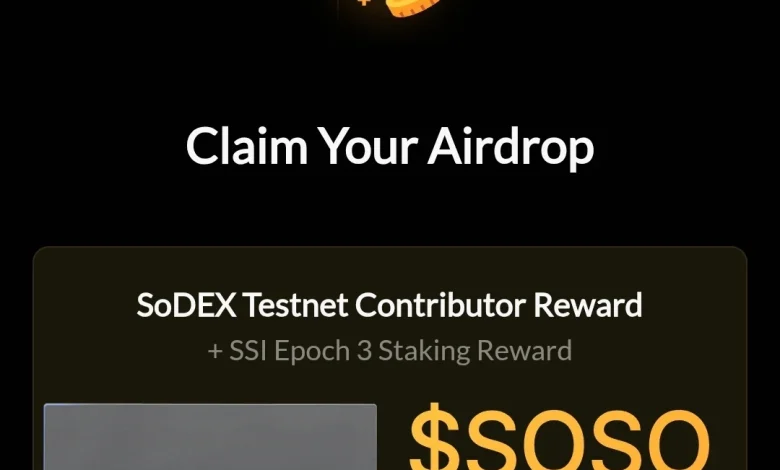
Step 3 — Use Testnets Regularly
Testnet = practice network.
Projects create testnet to test features.
Users help them.
Later, they reward users.
Common testnet tasks:
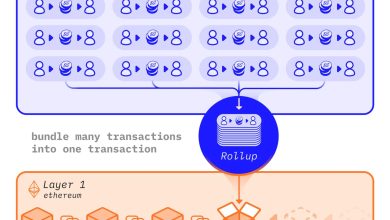
- Bridge tokens
- Swap tokens
- Mint NFT
- Stake
- Vote
- Send transactions
Many big airdrops came from testnets.
So never ignore testnets.
Even if rewards not confirmed.
Step 4 — Stay Active (Not Just Once)
This is where most people fail.
They do tasks once.
Then stop.
Projects often check:
- How many days active
- How many transactions
- How many features used
- How long wallet active
Better strategy:
- Use weekly
- Use monthly
- Use different apps
- Use different chains
Consistency beats one-time activity.
Step 5 — Use Multiple Chains
Many airdrops reward multi-chain users.
Try using:
- Ethereum
- Arbitrum
- Optimism
- Polygon
- Base
- Avalanche
- BNB
- Fantom
Why?
Because projects want real users, not bots.
Bots usually stay on one chain.
Real users explore.
So explore.
Step 6 — Use DeFi Apps
Projects love users who try features.
Use apps like:
- Bridge
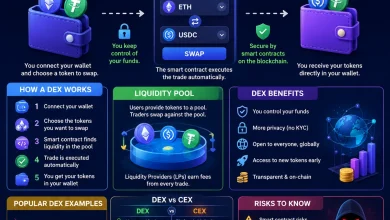
- Swap
- Lending
- Borrowing
- Staking
- Liquidity
Examples of things to do:
- Swap tokens
- Add liquidity
- Remove liquidity
- Bridge tokens
- Stake tokens
- Vote
You don’t need big money.
Small transactions count.
Step 7 — Hold NFTs (Sometimes Helps)
Some projects reward NFT users.
Not always, but sometimes.
Examples:
- Testnet NFTs
- Community NFTs
- Early mint NFTs
- Quest NFTs
If mint costs little, it may help.
But don’t buy expensive NFTs just for airdrop.
Not worth it most times.
Step 8 — Follow New Projects on Twitter / Discord
Most airdrops come from new projects.
Not old ones.
Follow:
- Devs
- Crypto Twitter
- Airdrop pages
- Web3 communities
- Discord servers
Early info = big advantage.
People who hear first usually win.
Step 9 — Avoid Airdrop Farming Mistakes
Beginners often do wrong things.
Common mistakes:
- Using only once
- Joining late
- Using fake sites
- Spending too much gas
- Using same wallet everywhere
- Copying random guides
Better strategy:
Stay active
Stay early
Stay consistent
Stay early
Stay consistent
That’s it.
Step 10 — Be Patient (Airdrops Take Time)
This part is hard.
Some airdrops take:
- 3 months
- 6 months
- 1 year
Many people quit before reward.
Big airdrops reward people who stayed.
Not people who rushed.
If you keep using projects regularly, chances increase.
Are Crypto Airdrops Guaranteed?
No.
Nothing in crypto is guaranteed.
You can:
- Do everything right
- Still get nothing
Or:
- Do little
- Get big reward
But following good strategy increases chances.
Think of airdrops like long-term farming.
Not lottery.
How Much Money Do You Need for Airdrops?
Not much.
You can start with:
- $20
- $50
- $100
Use small transactions.
Don’t spend too much chasing airdrops.
Gas fees matter more than volume.
Many big airdrop wallets used small funds.
Consistency > money.
Safety Tips for Airdrop Hunters
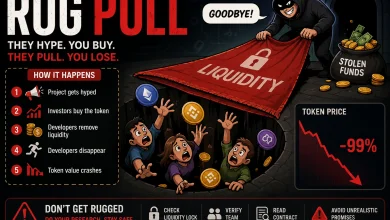
Crypto scams everywhere.
Never:
- Share seed phrase
- Connect to random sites
- Download unknown files
- Trust DM links
- Pay for guaranteed airdrop
Real rule:
If someone asks for seed → scam
Always.
How to Actually Get Airdrops
If I had to give only one advice, it would be this:
Use new projects early and stay active.
That’s it.
Most people want easy rewards.
But airdrops go to people who:
- Show up early
- Stay consistent
- Explore features
- Don’t quit
You don’t need big money.
You don’t need trading skills.
You just need patience.
You don’t need trading skills.
You just need patience.
And when that first big airdrop hits…
You’ll understand why people keep farming 🙂